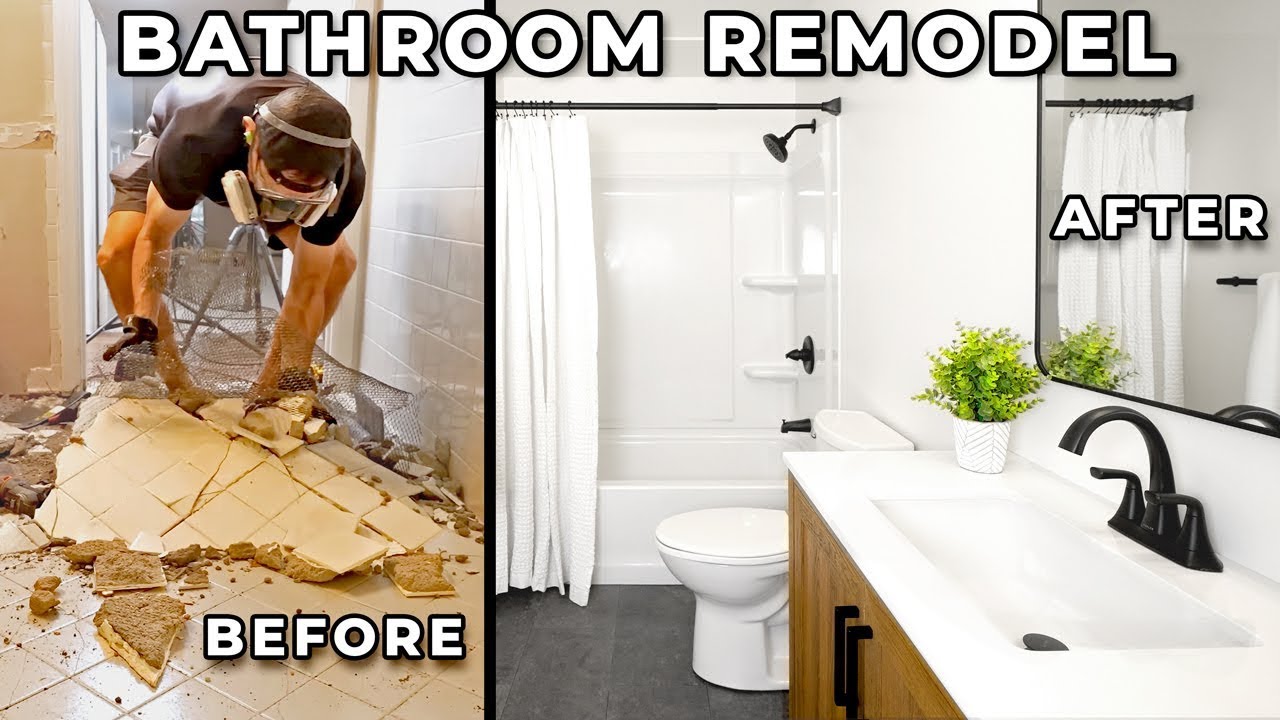
Remodeling a bathroom can be a challenge, particularly when it comes to the intricacies of tile installation. In Vancouver, where design trends often blend modern aesthetics with functionality, achieving that flawless finish is paramount. Whether you are working on a luxury bathroom renovation or a small bathroom upgrade, the right approach to tile installation can significantly impact your space's overall look and durability.

Selecting the Right Tile
Choosing the appropriate tile for your project is an essential first step. The options available today are vast, ranging from ceramic and porcelain to natural stone and glass. Each material has its own set of characteristics that make it suitable Bathroom Remodel Vancouver for different applications.
For instance, porcelain tiles are known for their durability and water resistance, making them ideal for bathrooms. They come in various styles and textures, allowing designers to achieve high-end looks without compromising on practicality. Natural stone tiles like marble or granite can add an element of luxury but require more maintenance and sealing due to their porous nature.
Consider also the size of your tiles. Larger tiles can create an illusion of space in smaller bathrooms but may require more precise cutting and leveling during installation. Conversely, smaller tiles can offer intricate patterns but may lead to more grout lines that require upkeep.
Preparing the Surface
Before diving into tile installation, preparation is key. Ensure that the surface you plan to tile is clean, dry, and free from any debris or old adhesive residues. This step might involve removing existing tiles or prepping new drywall if you're starting from scratch.
In some cases, leveling compounds Complete Bathroom Renovations Vancouver may be necessary if your floor is uneven. A level surface ensures proper adhesion of the tiles and prevents future cracking or lifting. Additionally, consider waterproofing areas prone to moisture exposure; this is particularly crucial in spaces surrounding showers or bathtubs.
Tools You Will Need
Equipping yourself with the right tools is crucial for achieving a professional finish. Here’s a concise list of essential tools you should have on hand:
Tile Cutter: For straight cuts. Wet Saw: Ideal for intricate cuts needed around fixtures. Notched Trowel: Ensures even mortar application. Level: To check alignment. Grout Float: For applying grout smoothly between tiles.
Having these tools at your disposal will streamline the installation process and help avoid mishaps.
Installing Tiles: Step-by-Step
The actual installation process requires careful attention to detail to ensure precision and longevity. Begin by marking guidelines on your wall or floor using a chalk line; this helps maintain symmetry throughout your layout.
Apply Mortar: Using a notched trowel, spread thin-set mortar onto your surface in manageable sections.
Place Tiles: Start laying your first tile at the intersection of your guidelines while firmly pressing it into place. Use spacers between each tile for consistent gaps.
Cutting Tiles: As you approach corners or edges, measure accurately and cut tiles as needed using a tile cutter or wet saw.
Check Alignment Frequently: Regularly use a level to check that each row remains flat and aligned with others; this will prevent uneven surfaces later.
Let Mortar Set: Allow 24 hours for the mortar to cure before grouting.
Once installed, grout fills in gaps between tiles which not only enhances aesthetics but also prevents moisture infiltration.
Grouting Techniques
Grouting can be seen as an art form in tile installation—it completes the look while serving functional purposes such as sealing out moisture and preventing mold growth.
When choosing grout, consider both color and type—sanded grout works well for wider joints while unsanded grout is better suited for narrower spaces (typically less than 1/8 inch).
To apply grout effectively:
- Use a grout float held at a 45-degree angle against the tile surface. Press down firmly while moving diagonally across joints to ensure full coverage. After allowing it to set for about 15 minutes, wipe off excess using a damp sponge; this step reduces haze on tiles while cleaning up edges.
Allow sufficient curing time before exposing newly grouted areas to water—typically around 72 hours depending on humidity levels in Vancouver's coastal climate.
Finishing Touches
With grouting complete, it's time to focus on finishing touches that elevate your remodel from DIY project to stunning transformation:
- Sealant Application: If you used natural stone tiles or certain types of cement-based grouts, applying sealant helps protect against stains and moisture. Baseboards & Trim Work: Installing baseboards adds elegance while hiding any rough edges from tiling work. Fixtures Installation: Carefully install faucets, showerheads, lighting fixtures, and mirrors ensuring they complement the overall aesthetic you've created.
Taking care during these final steps guarantees that all elements work harmoniously together within your new bathroom design scheme.
Hiring Professionals vs DIY
While many homeowners take pride in tackling renovations themselves—there are undeniable benefits of hiring professionals experienced in bathroom remodeling services throughout Vancouver BC. Professional contractors bring expertise not just in installation techniques but also knowledge about local building codes which could save substantial time during inspections or permit processes.
If opting for DIY installations feels daunting due to lack of experience or time constraints—consider consulting with licensed Vancouver bathroom contractors who can provide tailored advice based on specific needs like accessible bathroom renovations or eco-friendly upgrades tailored towards sustainability goals without sacrificing style points!
From custom vanities designed Professional Bathroom Renovations Vancouver specifically for unique layouts down through heated flooring options perfect against chilly winter mornings—finding qualified professionals ensures every aspect aligns seamlessly with intended vision while adhering strict quality standards expected within high-end markets across Greater Vancouver regions including Kitsilano right through Downtown core locations!

Common Mistakes To Avoid
Even seasoned DIY enthusiasts may encounter pitfalls during their projects; here are some common missteps along with suggestions on how best to avoid them:
First off – ignoring subfloor issues can lead disastrous consequences later down road like cracked tiles! Secondly – purchasing materials without confirming quantities often results wasted resources plus delays due improper planning ahead thereby increasing overall costs unexpectedly! Last but certainly not least – always double-check layout measurements prior commencing any cuts since errors compounded could yield frustrating outcomes requiring costly rework!
By being aware these potential challenges beforehand allows one remain focused throughout entire renovation journey no matter scale involved—biggest takeaway remains patience prevails along meticulous execution ultimately defining finished product stands testament craftsmanship achieved!
Final Thoughts On Your Bathroom Remodel Journey
Embarking upon any significant home improvement endeavor such as transforming bathrooms into beautiful sanctuaries requires dedication coupled alongside creativity infused practical knowledge gained over years working within industry field itself! From selecting right materials matching desired aesthetic preferences down through executing flawless installations every detail matters towards achieving goals envisioned throughout entire process!
Remember however enjoy journey itself too rather than fixate solely end result achieved—after all creating personal oasis escape only becomes possible when blending function form harmoniously together!
Bathroom Renovations Vancouver - Custom Bathroom Design and Bathroom Remodeling Experts 1771 Comox St, Vancouver, BC V6G 2M6